
Last Updated on July 21, 2020
Making pizza at home typically involves blasting your oven as high as it will go—which, in the thick of summer, can be a tough sell. And while homemade pizza is a fun project, it’s even more fun to take the process outside to the grill for some trial, error, and ultimately, triumph.
Grilling (one of my favorite cooking methods) and pizza (one of my favorite foods) have something in common—they both give you a chance to tinker with the process.
Think about it: Grilling—especially with charcoal or hardwood—is an exercise in responsiveness. It involves figuring out where the hot and cool spots are; controlling the air intake to regulate the temperature; moving food around depending on whether it needs a shock of super high heat or a chunk of time cooking low and slow.
And pizza, well—how long are you fermenting the dough? How long should you rest it before cooking? Should you sear it in a hot cast-iron before transferring to the oven or just place it right on a pizza stone on the oven floor?
Testing, tweaking, adapting—that’s the joy of cooking right there.
So on a long, lovely summer evening when you’d rather be anywhere but in a kitchen with the oven cranked to 550°F, bring your dough and toppings outside and start tinkering.
Here are a few tips to get you started:
Two Zones are Essential
When you build your fire, whether with gas or charcoal, create two zones for direct and indirect heat. If using gas, light the grill to high on one side and low on the other. If using charcoal, light the coals and when they burn down, bank the coals on one side of the grill.
Twice is Nice – For Grilled Pizza Dough
Cook the dough in two steps. First, sear the dough for between 30 and 60 seconds on each side over direct heat. Next, remove the seared dough from the heat, scatter on the toppings, and return the pizza to cook, covered, over indirect heat—using the grill more like an oven than a stovetop. Par-cooking the dough gives you a more sturdy base for toppings; finishing over indirect heat allows time for the ingredients to heat through and the cheese to melt—without scorching the pie.
Similarly, since the cooking time is so short for a grilled pizza, many toppings should be cooked ahead. You can use the grill for this, too. Char some eggplant or red onion on the grates, or heat a skillet over the coals (or gas) and cook some crumbled sausage or spiced ground beef.
Less is More
Almost anything can top a pizza, but the key is to hold back on the volume of toppings—too many and the dough will get soggy.
I like to go for three toppings, max—including the base of pesto, ricotta, or a very judicious swipe of marinara. To keep moisture at a minimum, use vacuum-packed mozzarella rather than the water-packed kind, and sauté (on the grill!) any hearty greens you plan to use.
Grilled Pizza is All About Contradictions: More is More
You can make your own dough or use store-bought; either way, smaller rounds of dough are easier to manage on the grates. A one-pound ball of dough, for example, can get made into two small pies—all the better for amping up the variety of toppings.
Amplify the Flavor
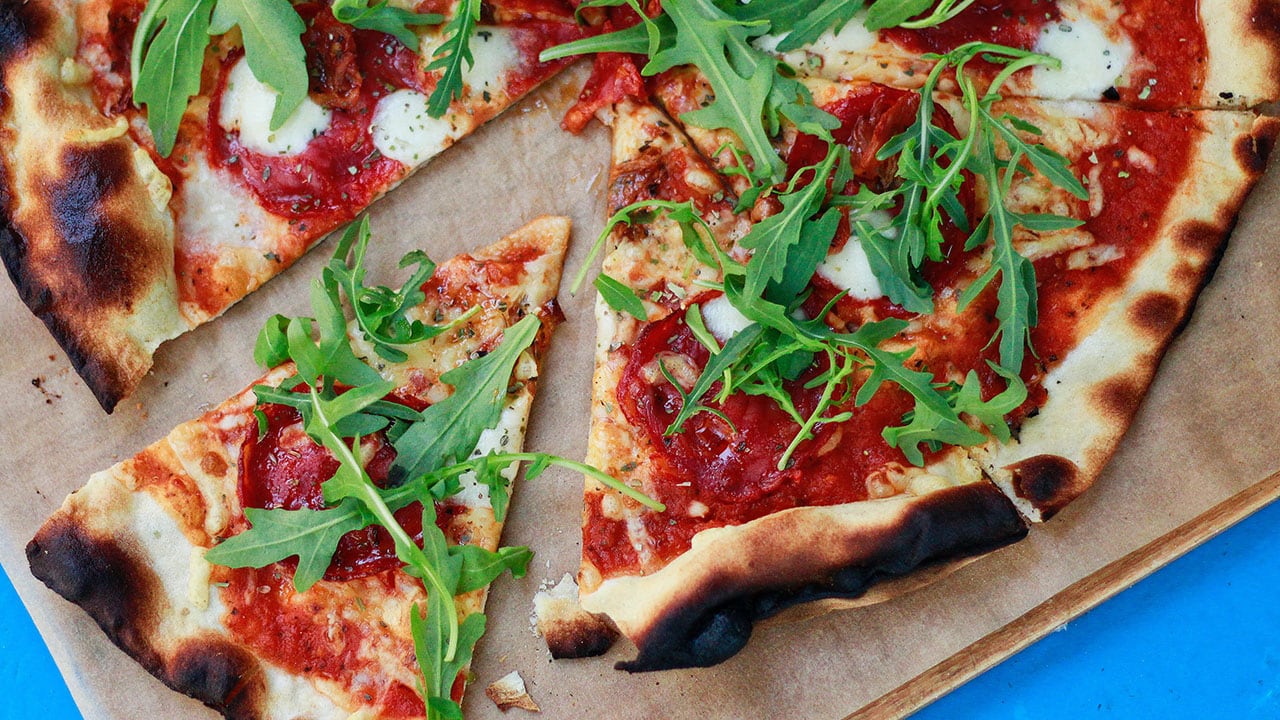
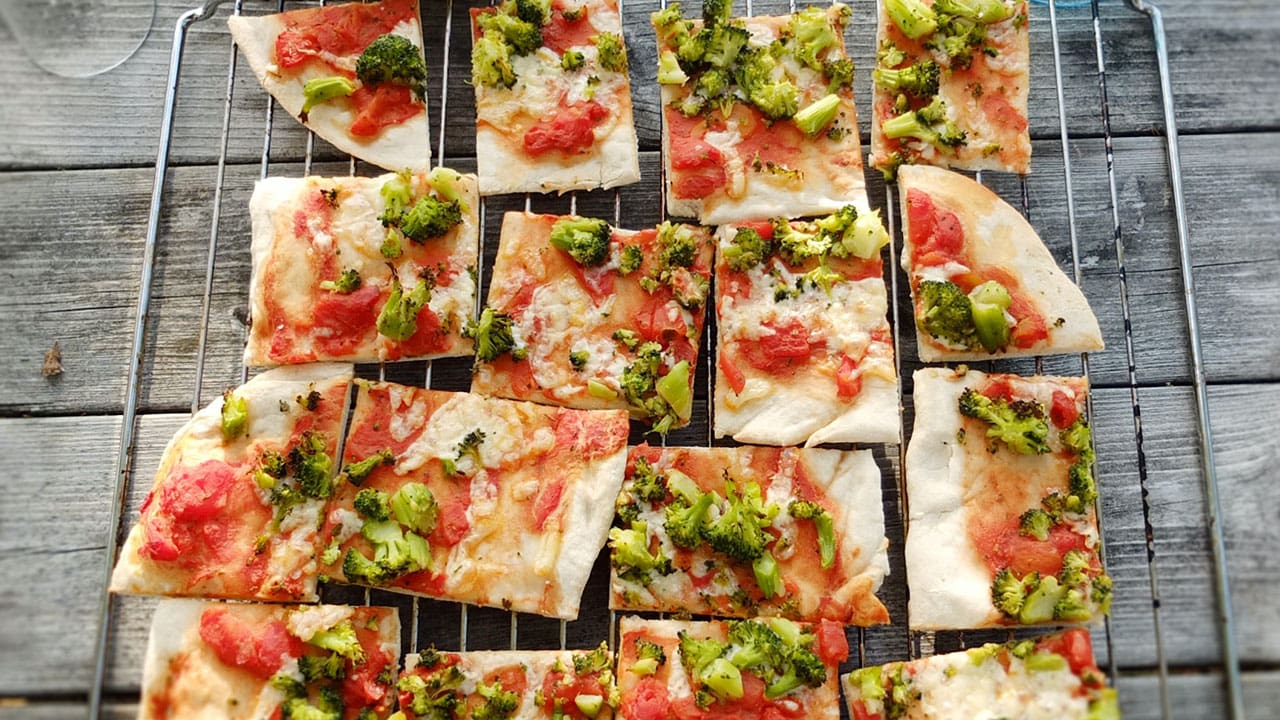
A grilled pizza’s biggest flavor is the smoky char of the grill against the dough—so toppings should be similarly bold, or offer distinct contrast. For example, some bitter broccoli rabe and spicy pork sausage would stand up well; a smear of chevre topped with thinly sliced ripe melon and a tangle of lemony arugula and mint would be a delightful contrast.
Outdoor pizza night is best when it’s a bit of a rolling feast. Have snacks and drinks on hand, a big salad ready to be tossed, and just slice and eat the pies as they come off the grill —under the sky, as opposed to in a muggy kitchen.
A triumph indeed.

Leigh Belanger is a writer, editor, and culinary expert with a passion for food, storytelling, and sustainability. As an Editorial Director for ButcherBox, she has crafted engaging content that highlights high-quality ingredients, delicious recipes, and the joy of home cooking. Through her work, Leigh inspires people to cook thoughtfully and creatively.
