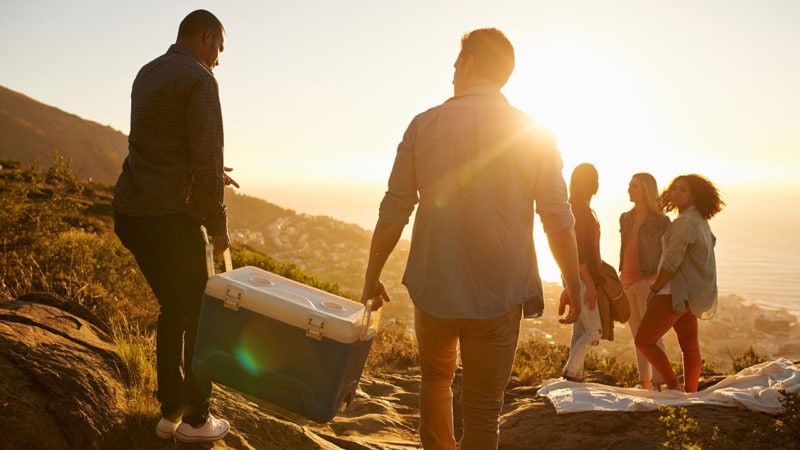
Nothing ruins a cookout faster than finding your meat and produce sitting in a puddle of water at the bottom of your cooler. Luckily, this guide will tell you everything you need to know to maximize your cooler’s cooling powers. You’ll get tips and tricks for making sure your food is fresh and stored at the proper temperature, so that you can spend less time stressing over packing and more time grilling food to perfection.
How to Prep and Clean a Cooler
Bring your cooler inside.
If you store your cooler outdoors, you might want to bring it inside the night before you pack it. This is especially true if it’s warm outside. The goal is to cool the cooler down as much as possible before packing it, so that it takes less ice to keep it cool.
Clean it thoroughly.
This might go without saying, but it’s important to start with a clean slate. Make sure you clean your cooler out thoroughly before using it. Nobody wants to make a surprise discovery when they go to pack the cooler with their burgers and hot dogs.
Wiping it down with a damp cloth and a small amount of dish soap or detergent will do the trick. Be sure to rinse the cloth and wipe the cooler again to make sure you remove any remaining soap before drying it off.
Consider pre-chilling your cooler.
If you plan to use your cooler for several days, or you’re really concerned about keeping it cold, consider pre-chilling the cooler the night before. Fill it with cold water and a couple bags of ice that you’re okay sacrificing. You’ll dump this ice water the next morning before you pack the cooler.
This will lower the core temperature of the cooler, making the ice you pack it with the next day last longer (and your food, too).
How to Prep Your Food for the Cooler
Remove excess packaging and prep your food.
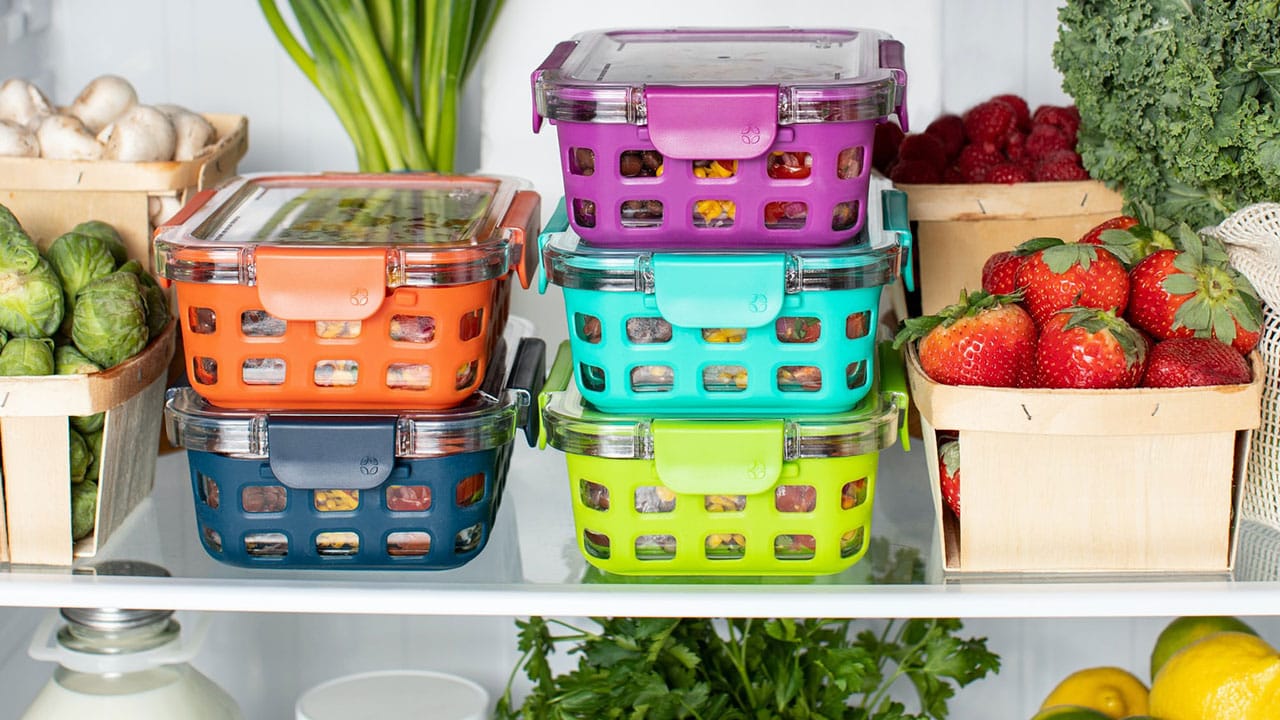
For the most part, you’ll want to remove your food from all its extra packaging. It’ll only take up extra space, and potentially leak or allow water into the food. Replace the packaging with heavy duty zip-top bags or leak-proof containers.
While you’re removing food from the packaging, you may as well prep your fruits and veggies and get them ready for your cookout. This saves time and makes for easy packing of the cooler.
We have one exception to the packaging rule: ButcherBox burgers come in convenient, resealable packaging, which protects freshness and flavor. You don’t have to move these to a separate bag, and can feel confident your food is protected when packed in the cooler! In fact, you can move them straight from the freezer to the cooler.
Refrigerate everything—even the containers.
Remember, the goal of packing a cooler is to lower the core temperature of the cooler as much as possible. It takes a lot more ice to cool a room temperature container or item than it does a chilled one, so make sure to refrigerate all of your food before packing it in the cooler. This includes the containers you’re going to pack it in.
Consider freezing food for longer trips.
If your cookout is part of a several-part camping trip, you might want to try freezing your food before you pack it, and allow it to defrost over the next few days in the cooler. This will also help lower the core temperature of the cooler, making all of your food last longer.
Pro tip: Check the product labels on frozen summer favorites like pre-made burgers, hot dogs, and salmon burgers. Many of these items can go straight from the freezer to the grill, and throwing them in your cooler will ensure things stay at the right temperature, even if you’re just traveling across town.
Try a two-cooler system for drinks.
Here’s the thing: A packed cooler isn’t a very effective cooler. You’ll want to leave plenty of room for ice, and not fill your cooler to the brim with food and drinks. The ideal ice-to-contents ratio is 2:1. Otherwise, it will not stay as cold as needed to keep perishables at the right temperature.
So, if you’re planning on bringing lots of drinks, try designating a separate cooler for them. Oh, and make sure you refrigerate your drinks before packing them!
What Is the Best Ice for Coolers?
Block ice is ideal for packing coolers.
Due to their mass, block ice won’t melt as quickly as ice cubes, which means they’ll keep your food cold for longer. You’ll want to layer the bottom of your cooler with ice blocks.
Block ice has been harder to come by in stores, but the good news is that you can easily make some at home. Partially fill a small cooler, container, or empty beverage carton with water and leave it in your freezer for 12 to 14 hours. When filling your ice mold, be sure to leave enough room for the water to expand as it freezes and to leave the lid off of whatever container you choose. Once frozen, remove the ice and place it in your cookout cooler. You may need to let it melt for a few minutes before it’ll slide out of the container.
Freezer packs are the next best thing.
If you don’t have block ice, freezer packs are a great alternative. They’re also reusable, so they’re helpful to have on hand if you travel a lot with your cooler.
You’ll want to search for a large, flat freezer pack for your cooler. Make sure it’s nice and frozen before you layer it on the bottom.
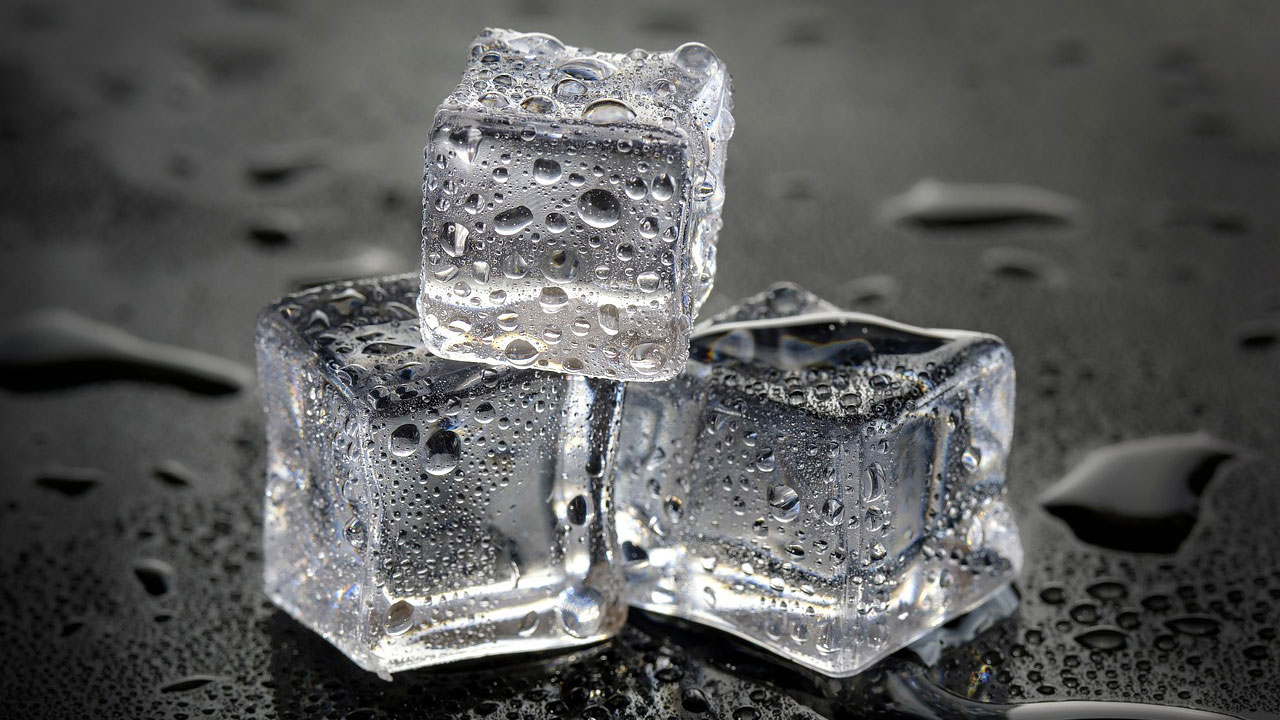
Ice cubes partner well with other ice.
Ice cubes alone aren’t ideal for keeping your food safe in the cooler. However, they are good at filling in air gaps. Removing any empty space from your cooler will help you keep it colder for longer, so use ice cubes in conjunction with block ice or freezer packs for the best results.
How to Pack a Cooler for a Cookout
Prepped and ready to get packing? Follow these steps to ensure your cooler stays ice cold for your cookout:
- Pack the cooler last: Make packing the cooler the last step in your preparations before you leave the house, giving your food the longest time in the fridge or freezer as possible.
- Add a layer of block ice or large freezer pack: On the bottom of the cooler, layer in block ice or a large, flat reusable freezer pack.
- Pack in food items in reverse order: Pack your food in reverse of the order that you’ll need it. For example, pack quick-cooking meats and veggies at the bottom, followed by longer-cooking items, and then layer snacks on top. If you’re packing for an all-day gathering, try packing dinner on the bottom, lunch in the middle, and breakfast on top.
- Assume things might leak: You’ll want to pack liquids and other foods that might leak vertically. Keeping them upright will help minimize the risk of leaking.
- Fill the air gaps with ice cubes: Finally, fill in any air gaps in the cooler with ice cubes to make sure everything stays nice and cool.
With these tips, you should be able to pack a cooler to last you for a couple days or more. Enjoy your cookout!