Last Updated on September 29, 2020
No recipe is complete without a little salt, and for good reason. Sodium from salt is essential to many of our bodies’ complex processes, including regulating the body’s internal balance of water and sodium. It is also instrumental in bringing out and showcasing flavor in food.
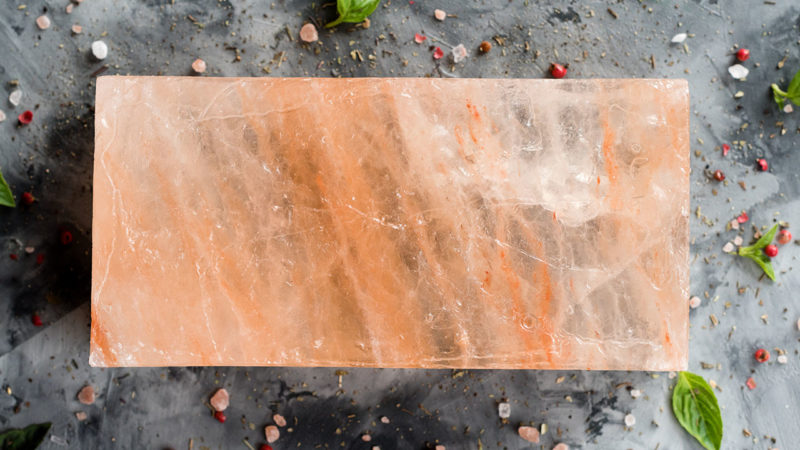
It’ll be no surprise, then, when I tell you that a Himalayan salt block should be the next—and ultimately will be the best—addition to your summer cooking arsenal.
These pink slabs of joy are highly effective at cooking, chilling, and seasoning your food. They are also a rich source of some key trace minerals. And unlike the salt your sprinkle on your food, these highly dense salt blocks can be used over and over, in a variety of different situations.
Cooking with the Salt Block
Before you start hosting your own block parties, here are a few quick tips to cooking on a naturally seasoning surface:
- Before the first time you cook with it, season your salt block.
- When cooking, heat the block in stages, starting on low heat and gradually moving to high. Too hot, too fast can crack the block.
- The more moisture your meat has, the more salt it will absorb.
- The higher the fat content, the less salt it will absorb.
- Longer cook times lead to saltier foods. Thin cuts are best.
Grilling Steaks
Salt blocks work great on the grill.
Once you’ve slowly heated the block, test that the surface is hot enough by drizzling a few drops of water. If there is sizzle, you’re ready. Cook the steak as you would on the grill, 1-2 minutes per side for thinner cuts, and 4-5 minutes for slightly thicker cuts. This is perfect for a New York strip or ribeyes (use a meat thermometer to get the right level of doneness you want).
Remember—no need to salt the meat before you cook. The block has you covered.
Seared Scallops
Just like with the steaks, heat your block up on the grill to a high heat. Around 500°F is ideal.
Dry the scallops and then coat them lightly with olive oil (this will prevent them from getting too salty). Sear them as you would in a pan, flipping them with tongs once a brown crust has formed. Depending on the thickness of the scallops, this should be for just a few minutes per side.
The seared crust from cooking on a salt block will be unlike anything you get on a regular cooking surface.
Stove-Top Pork Chop
Salt blocks work just as well on the gas stovetop.
For an electric stovetop, place a metal ring (like a pastry ring) between the block and the stove, as a buffer. Heat the block slowly, like you would on the grill, bringing it up to around 400°F.
Once you’ve dried the excess moisture from your pork chops, coat it with olive oil, and cook it on the block. Again, thinner cuts are better to avoid over-saltiness. Like the scallops, that salt-seared crust is worth the extra effort.
Serving Cold Food on the Salt Block
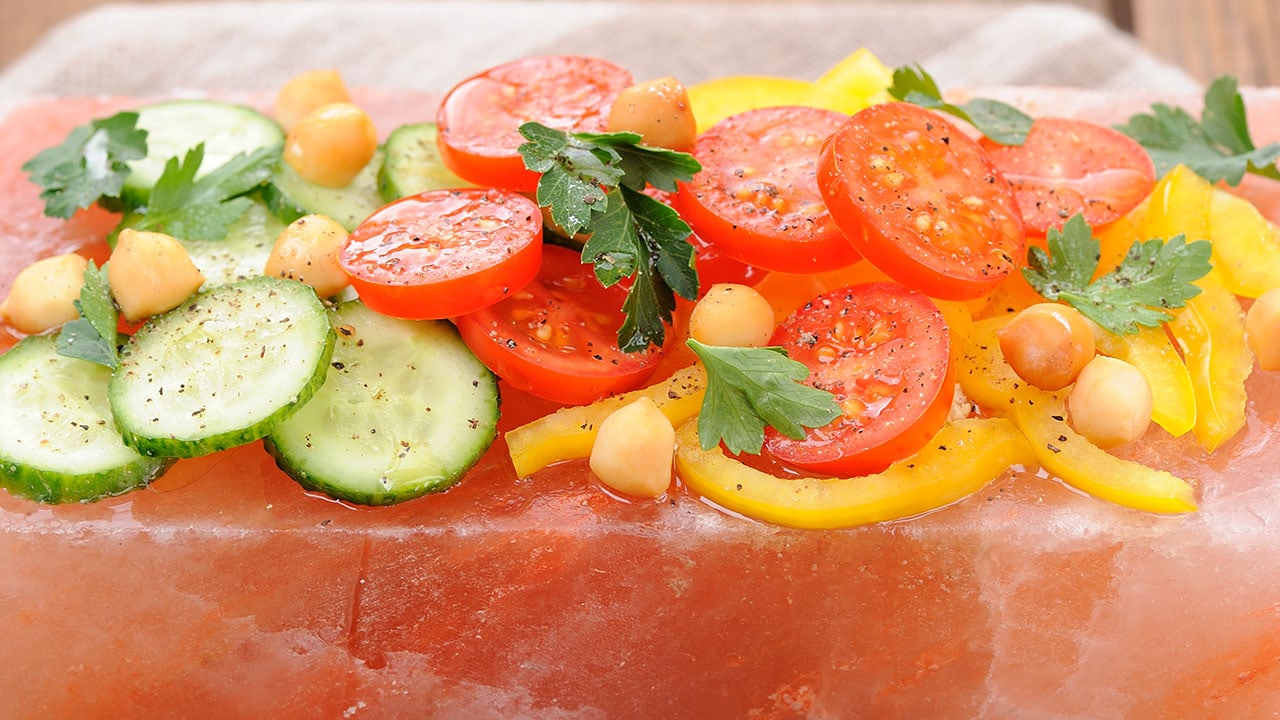
Before serving cold foods on your salt block, here are a few functional tips:
- Store your block in the freezer for 24 hours before use
- The longer food rests on the block, the more salt it will absorb. It can also lead to a frozen layer on the bottom of the food.
- Watch the moisture. The more moisture the food has, the more (and quicker) it will absorb salt.
Sushi and Sashimi
Think of the salt block like a super fancy self-seasoning serving platter.
When preparing sushi and sashimi, especially in the warm summer months, it’s essential to keep that fresh, raw fish cold—and the salt block does just that. Remember, the moisture of the sashimi or the sushi rice will directly affect the amount of salt it absorbs. The slight hint of salt from the block will add an extra layer to the flavor!
Vegetables, Fruits, and Cheeses
Sometimes, it’s all about the presentation—and the salt block is certainly a showpiece. Using a chilled salt block (let it rest for at least 20 minutes after taking it out of the freezer), you can prepare appetizers of cheeses, fresh fruits, and vegetables, all on your fancy pink block. The block will keep your items cold and fresh, add slight amounts of seasoning, and be an excellent talking piece amongst your guests.
As a parting note, salt blocks can last for a long time, but they do need a little TLC. It’s important to care for your block, to ensure its longevity.