Last Updated on January 27, 2025
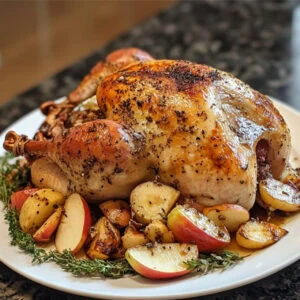
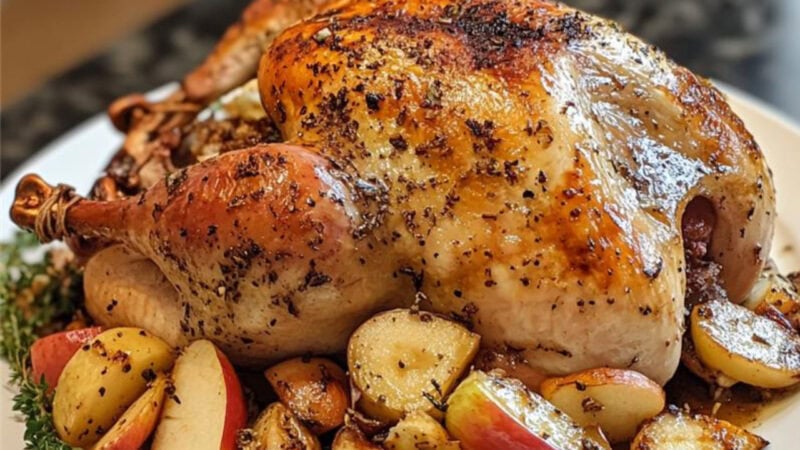
Dry-brining your turkey is the secret to crispy skin and juicy, flavorful meat! Generously seasoned with salt, this method allows the turkey to absorb its own flavorful juices while resting in the fridge. After 24 hours, it’s ready to roast to golden perfection, perfect for a holiday feast that’s unforgettable!

How to Dry-Brine Turkey
Ingredients
Ingredients
- Kosher Salt (1 tablespoon of salt per 5 pounds of turkey)
Mise en Place
- 1 Large bowl or baking dish (big enough to hold your turkey)
- 1 Paper towels
- 1 Measuring spoons
- 1 Kitchen scale (optional)
- 1 Roasting rack or cooling rack (for the turkey to sit on)
- 1 Plastic wrap or a large trash bag (optional, to cover the turkey)
Instructions
Preparation
- Pat the turkey dry with paper towels, ensuring there’s no moisture left on the skin.
- Remove the giblets and neck from the cavity if they’re included, and pat the inside dry.
Season the Turkey
- Sprinkle the kosher salt generously over the turkey. Start with the inside of the cavity, then rub the salt all over the skin. Make sure to get under the wings and legs.
Refrigerate
- Place the turkey on a rack in a roasting pan, or a baking dish, to catch any juices that may escape.
- Cover the turkey loosely with plastic wrap or place it in a large trash bag (if you prefer to avoid a tight wrap).
- Let it rest in the fridge for at least 12 to 24 hours. The longer, the better! The salt will draw out moisture and then reabsorb it, creating a flavorful and juicy turkey.
Before Roasting
- After dry brining, remove the turkey from the fridge. Pat it dry once more to ensure the skin crisps up during cooking.
Michelin-trained and meat-obsessed, Chef Jason McKinney is all about bold flavors, fire, and making cooking crazy delicious. With a background in fine dining and a passion for hospitality, he’s dedicated to bringing people together through unforgettable culinary experiences, education, and high-quality ingredients. When he’s not leading ButcherBox cooking classes or perfecting the perfect steak, he’s training for his annual Ironman—because balance, right?


